This post is a thought stream comparing the building of a “temporary” shed to MVP software development. Yes, an odd comparison. For those not in tech, MVP means Minimum Viable Product. I originally started the shed as a temporary replacement. By the time I finished the build, I am now hoping it will last a little longer than my planned 1-2 years.
The aim when replacing the old shed was to keep the costs to a minimum and have as little impact to the environment as possible. I also needed it quickly.
How did I start?
I gathered materials from the garden, such as timber from the old garage roof, which was replaced last year, and cement blocks from an old wall. I sketched a rough plan and started building without a detailed diagram. I did also did some research on shed construction to ensure I understood how commercial sheds were constructed.
The build.
The first step was to clear brambles from the area, about a 3.5 x 4 metres area. I then fixed in place concrete blocks, ensuring a solid base, but no new concrete just yet. The main timbers were 18 cm x 5 cm. This provided the foundations.
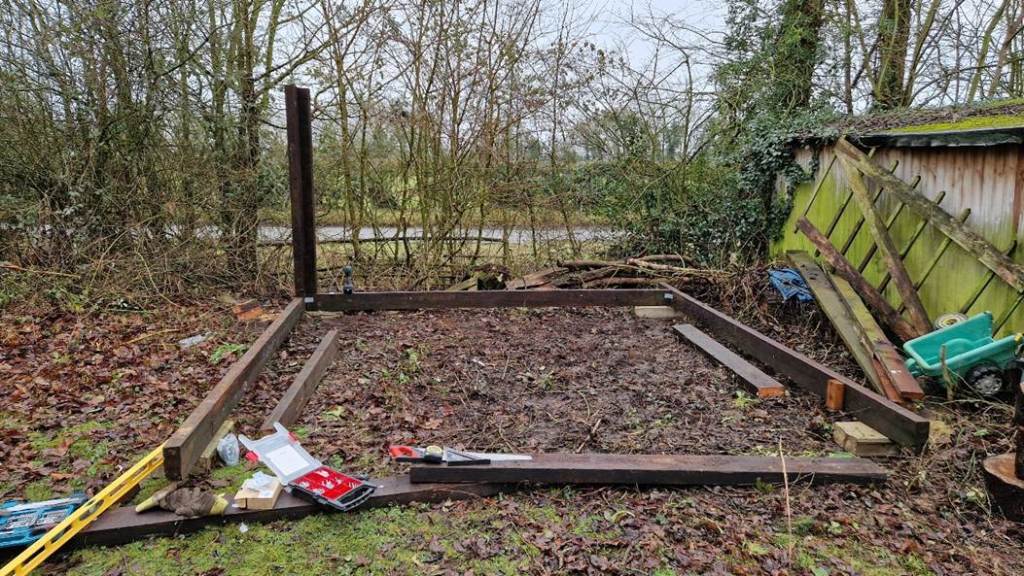
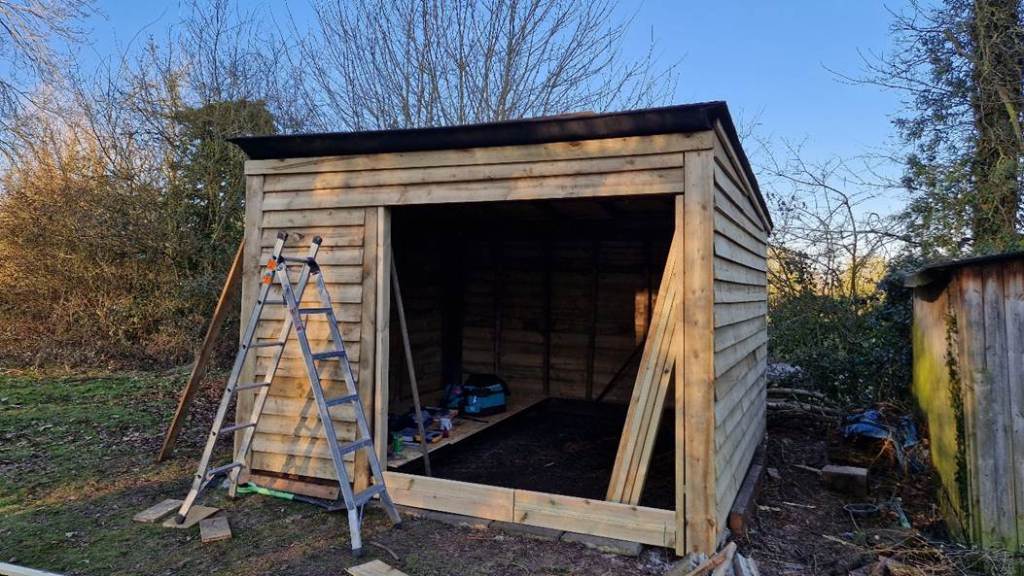
The next step was the frame. I wanted enough height to be able to comfortably stand and to also build a platform inside, so it’s 2.4 meters at the highest point to stay within UK planning rules.
Sticking to the theme of MVP and moving quickly to complete the project, I focused on the verticals and horizontals, would everything be square. I used fence post cement to fix in place the 4 corner uprights. Some of the moving fast without a detailed diagram, and no previous experience did result in errors which became apparent later.
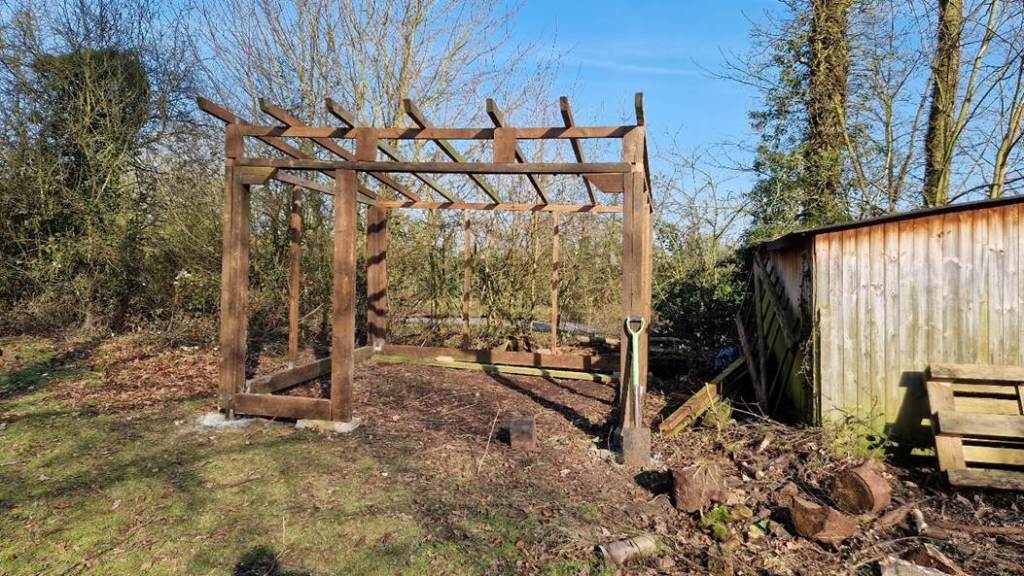
At this stage I had the frame for the walls and roof, and still no real idea how successful this would be. My wife (Karen) was beginning to think this might really be a thing. I was also more confident as the structure was very solid. I tested it by pushing the sides with all my weight. But now I needed to spend money for a roof and walls!
The walls – and using a nail gun (management intervention)
I decided to go with feather edge boarding as this is closest to traditional barns in Norfolk (UK), and that cost me £600, ouch! I was also going to attach these using hammer and nails. I soon decided a nail gun would be faster. Borrowing the nail gun, I started work at pace again, but was halted by management (the wife), I needed safety equipment, goggles and ear defenders (more expense – £40). Work began again!
One thing that really helped was building a jig so that the spacing for the boards was consistent. I used this YouTube video here. But that still didn’t save me from a couple of problems with even spacing for the doors.
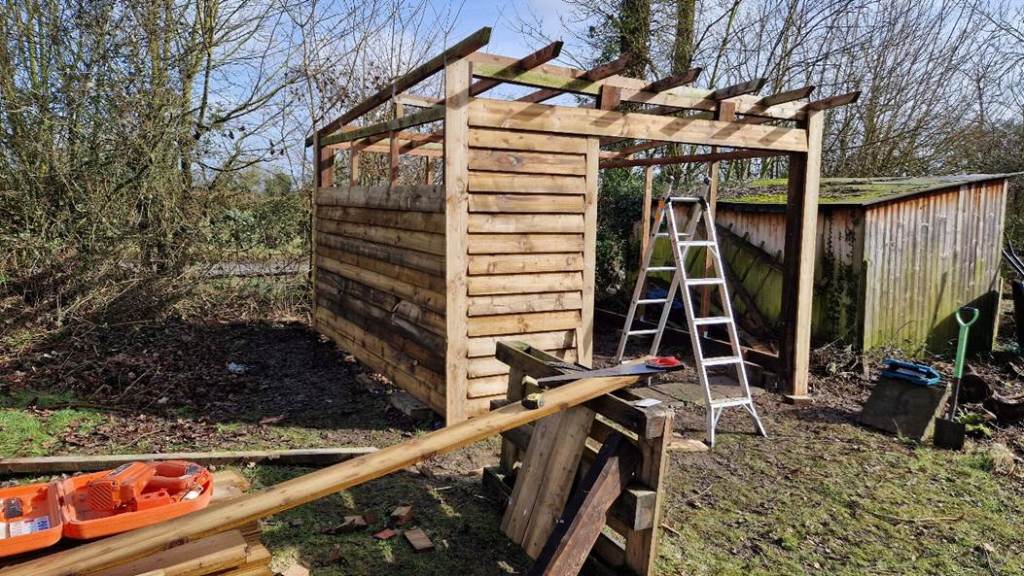
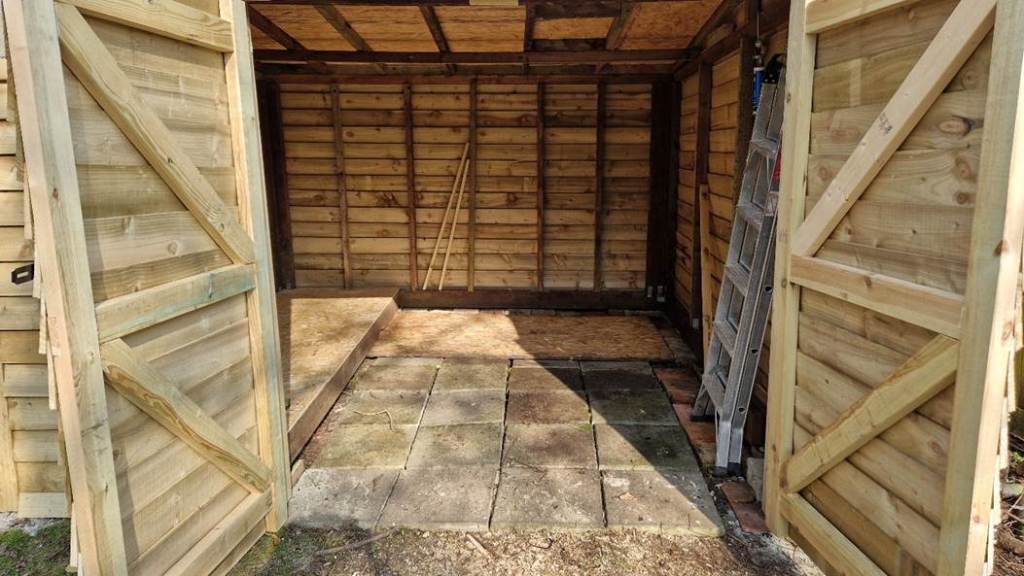
The roof – help needed! It’s a 2-person job.
More costs, OSB boards required for the roof. Couldn’t do this one by myself, so management team (wife) had to help. It was also at this stage that I realised the frame was not square. The back was wider than the front by 10 cm. That caused me to scatch my head, as I felt my measurements and use of a set square would prevent this. Unlike software, there was no quick fix for the walls, I couldn’t quickly tweak things. So, I used the circular saw to trim the roof to run in line with the walls.
Then it was a case of felting it. Messy job – bitumen is sticky and messy. Felt for the roof is also expensive, another £120 spent.
The doors. Now it gets complicated and needs a little more thinking.
To have doors that sit straight and open properly you need the frame to be square. Mine wasn’t. No problem, add a bit more wood to square off the entrance. Still following the MVP software approach and it’s working – who needs architecture diagrams!
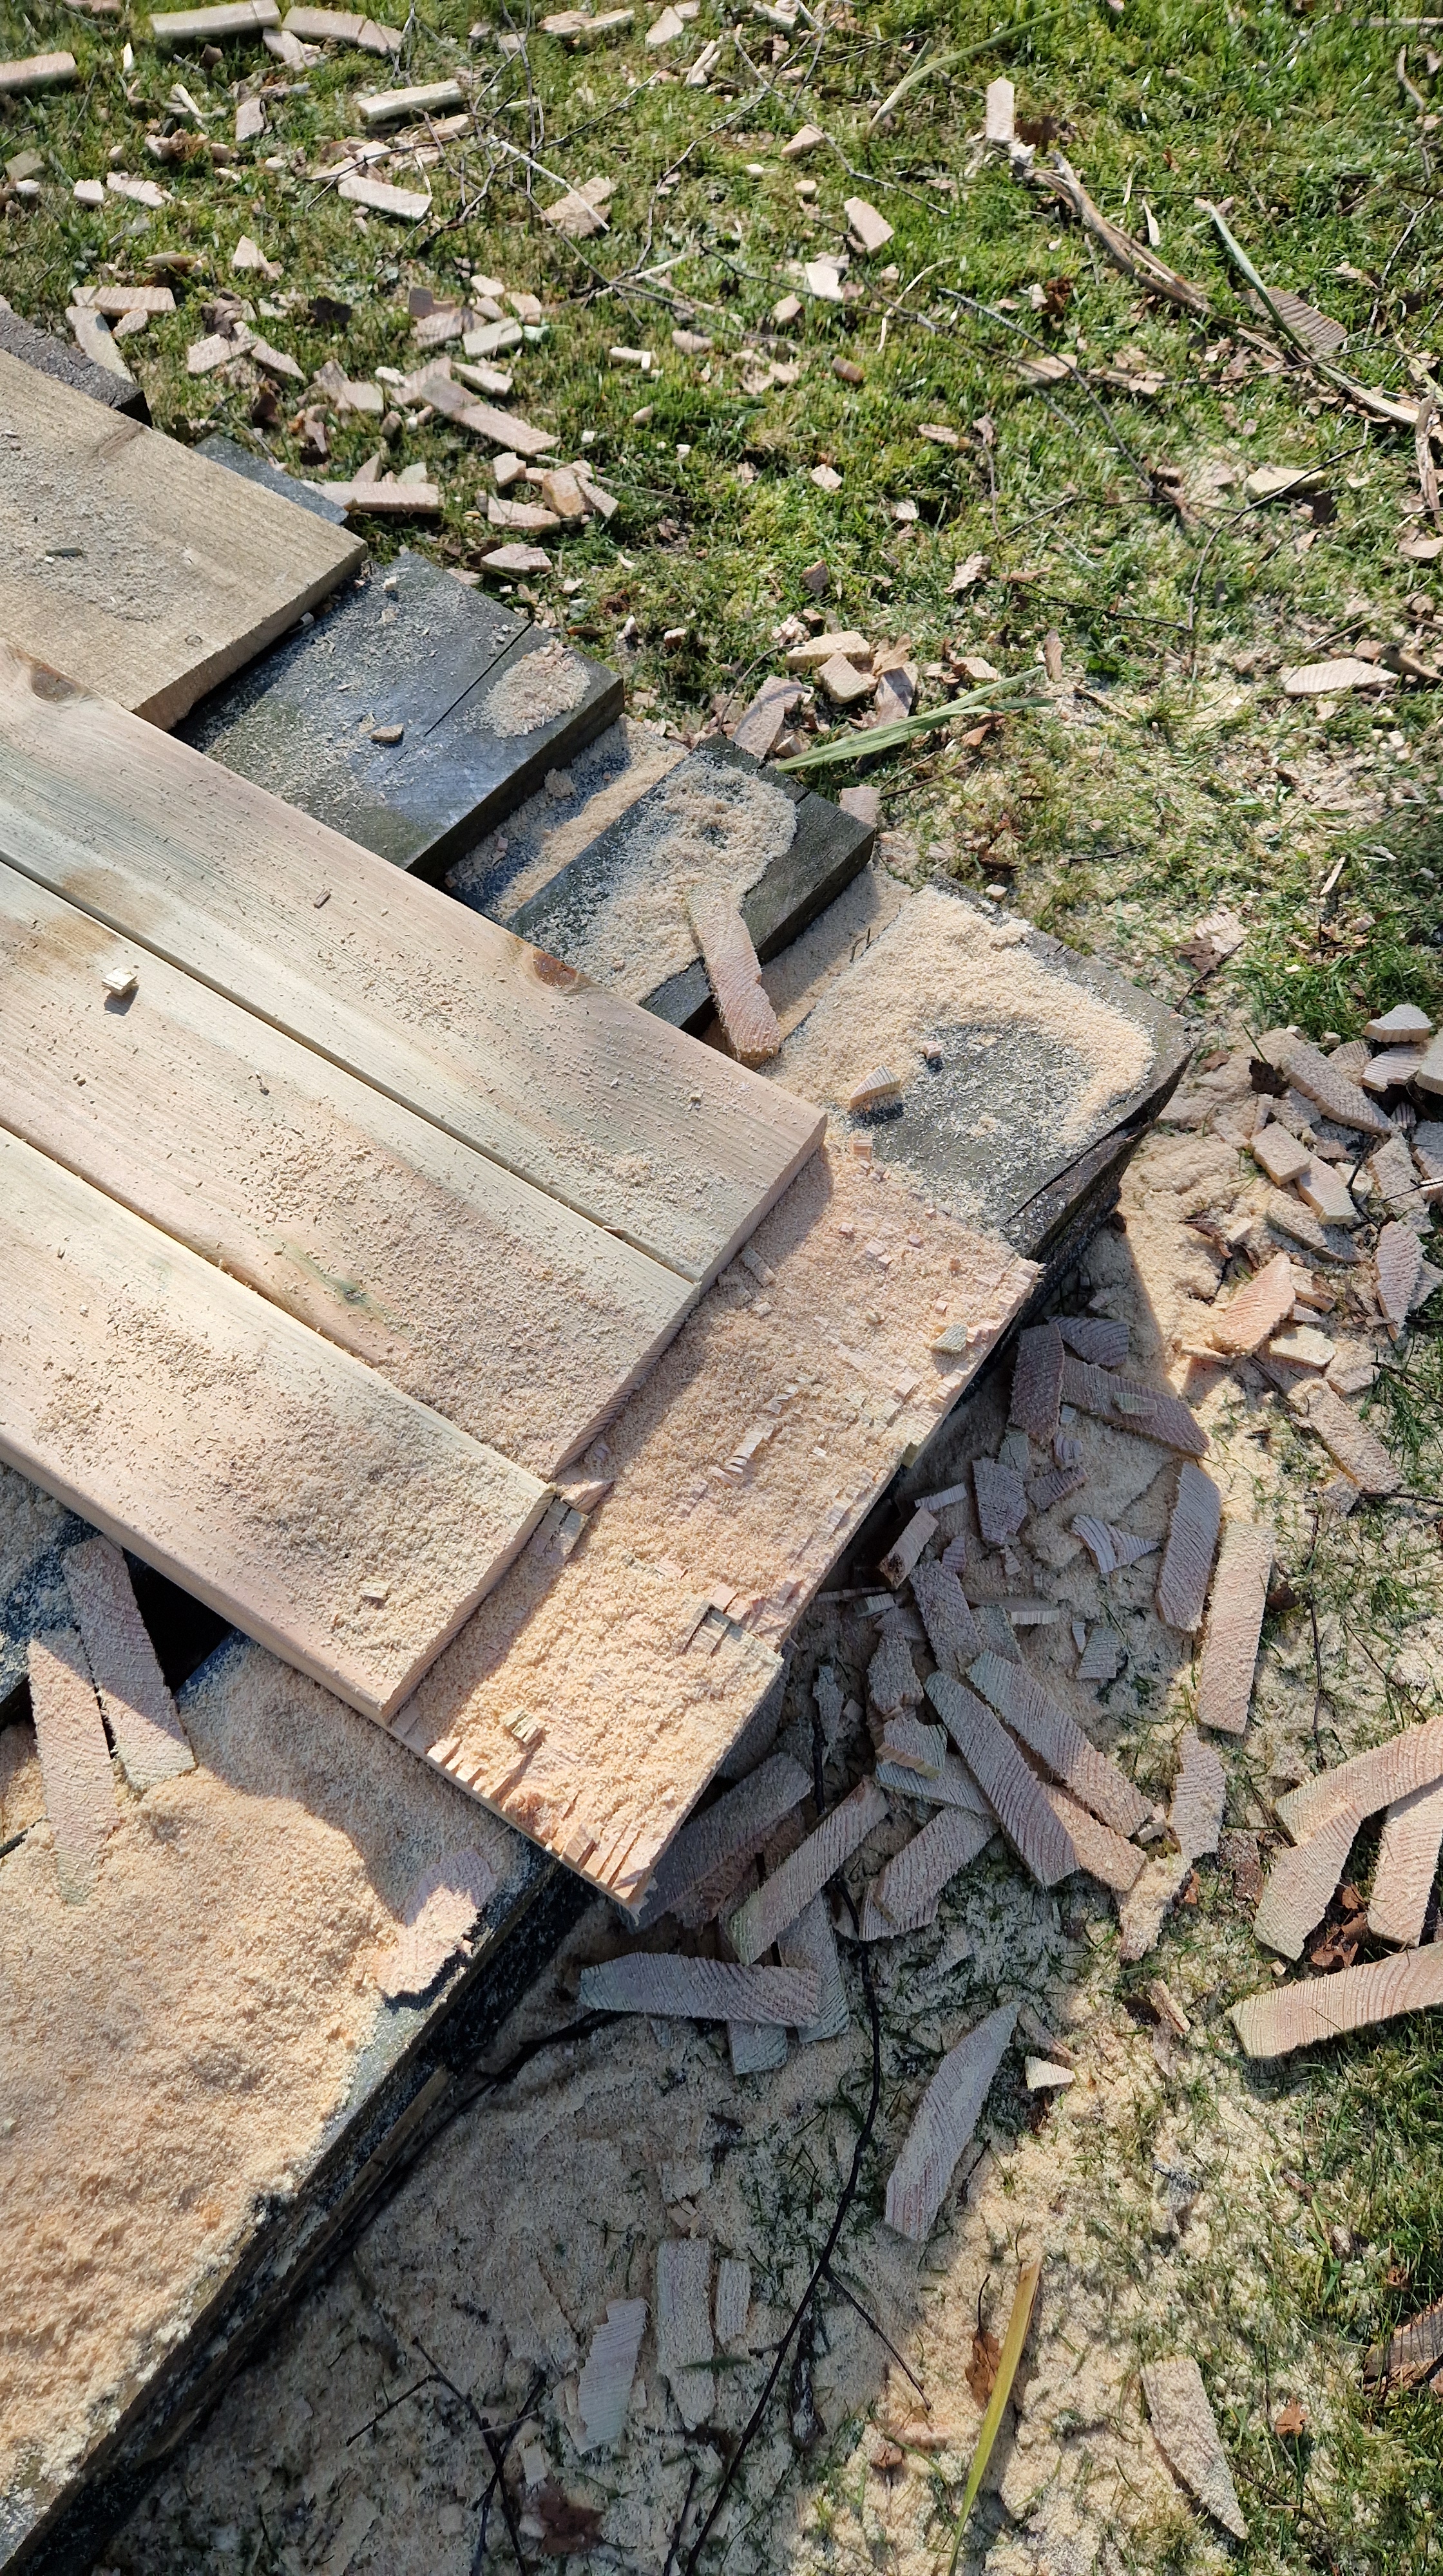
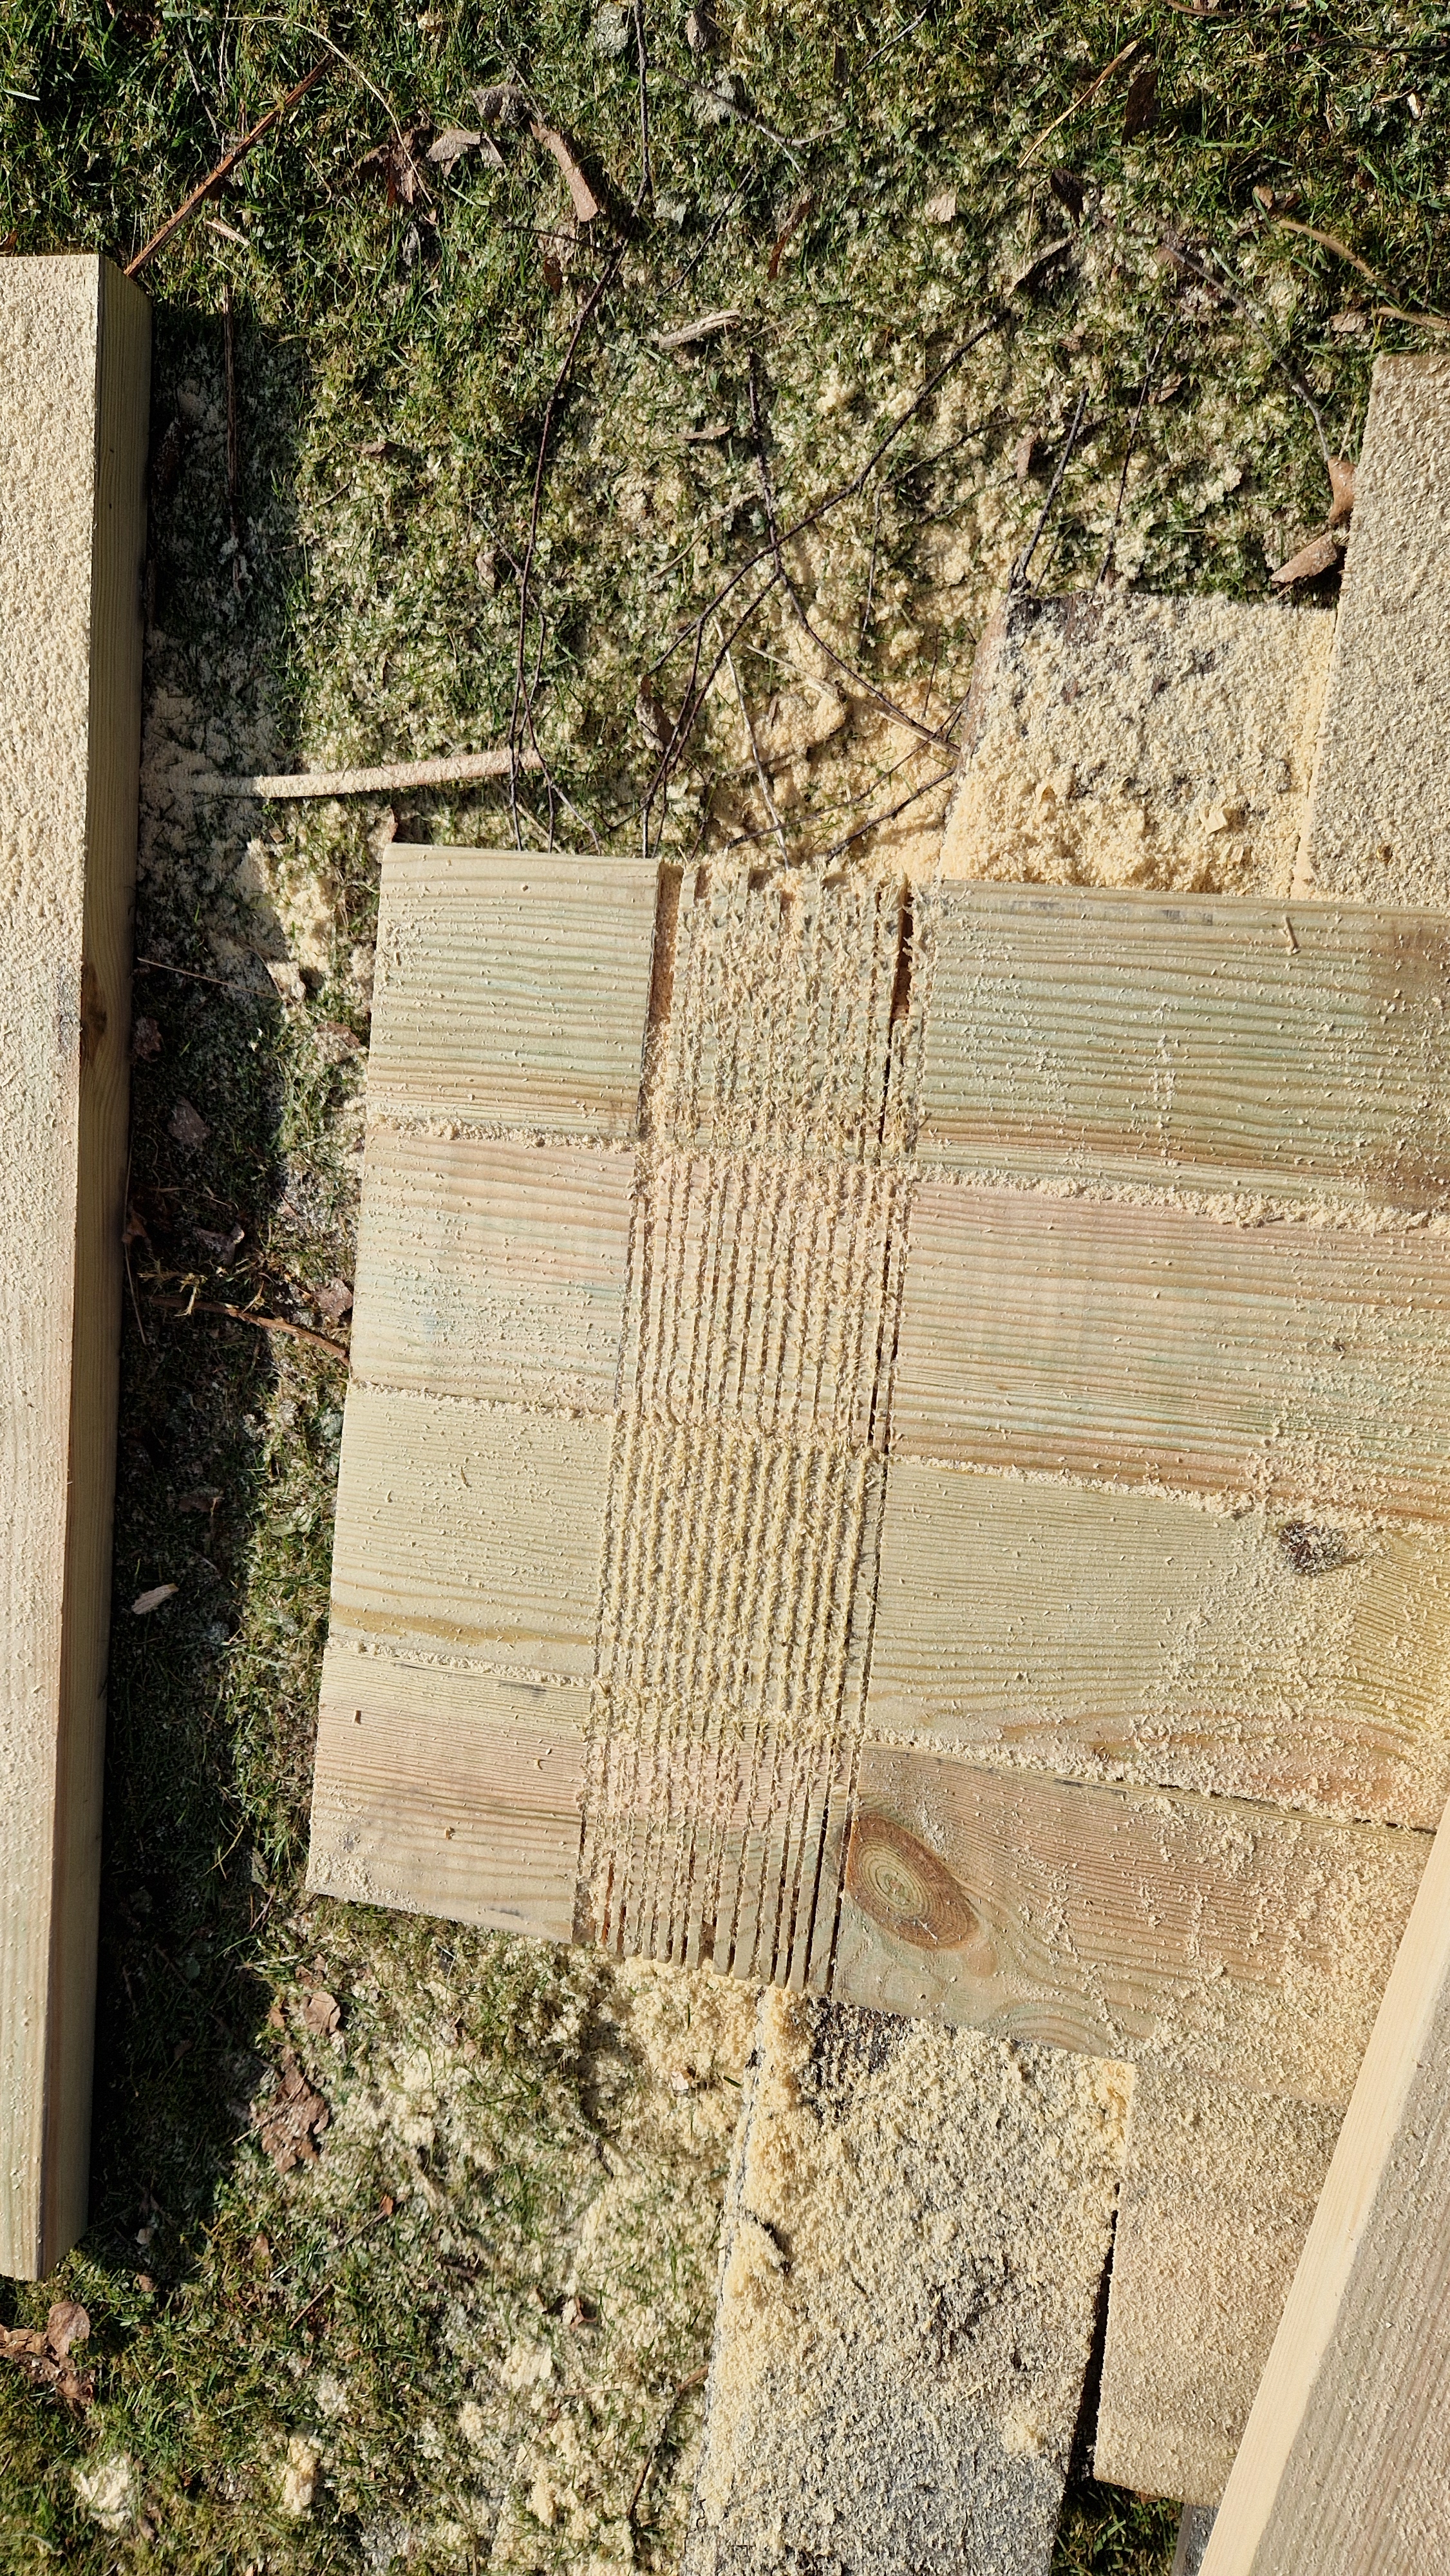
However, building doors needs research. Thank you to YouTube handymen videos (I used easy garden gates) . I learnt some new wood working skills, how to make half lap joints with a circular saw.
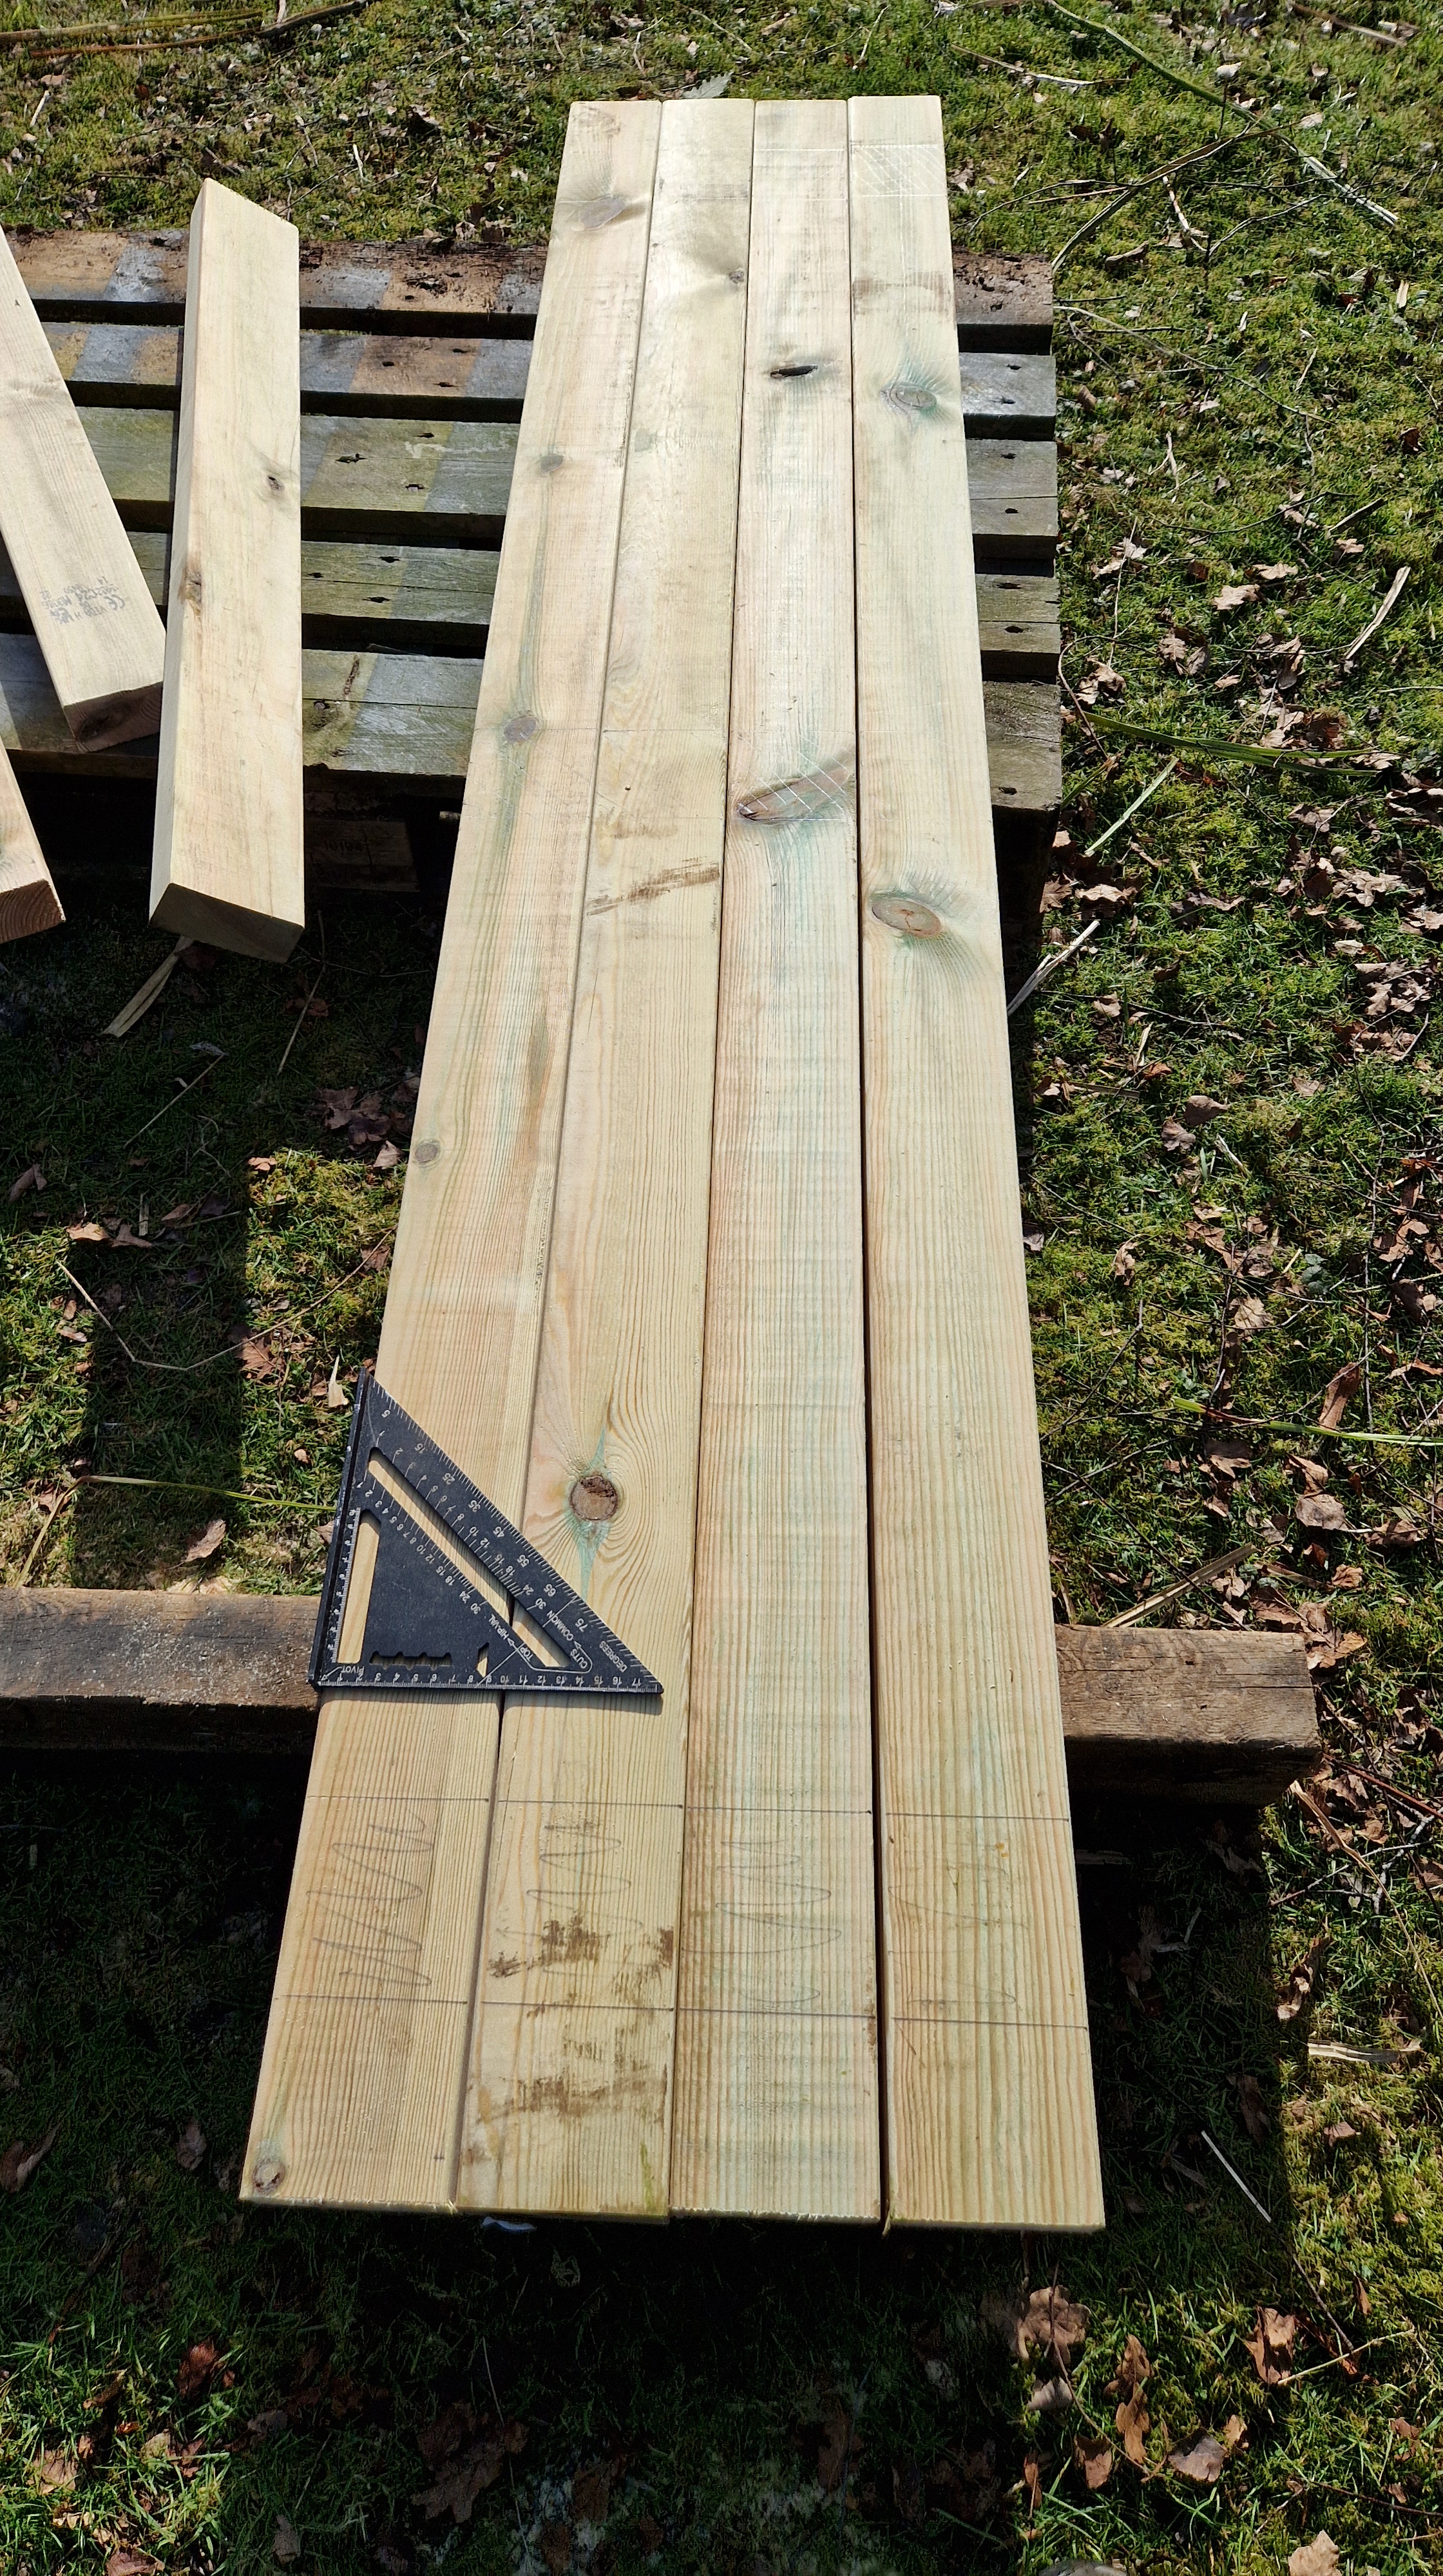
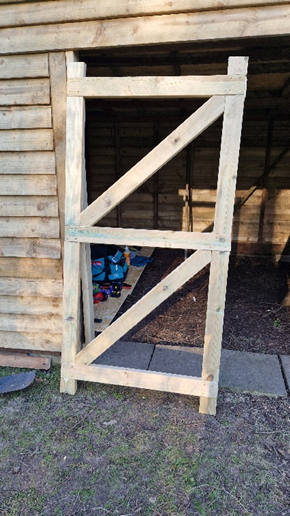
And to quote Jeremy Clarkson on “Clarkson’s Farm” – I made a thing! Well actually, two shed doors. One minor issue was even spacing of the boards on one of the doors which I only noticed after they were all nailed on. They were not even and so this gave me a very traditional old barn look, nothing was perfectly straight.
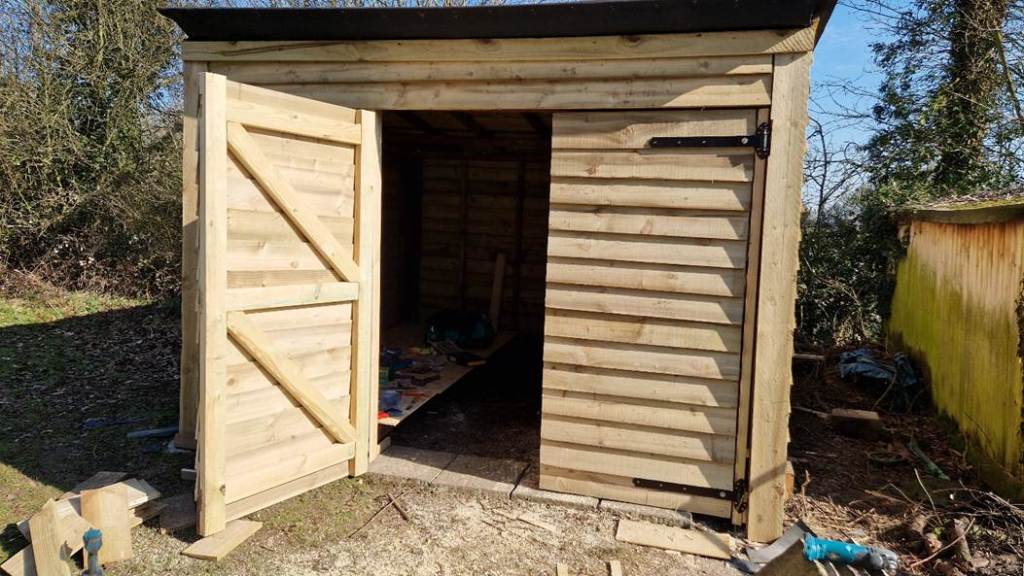
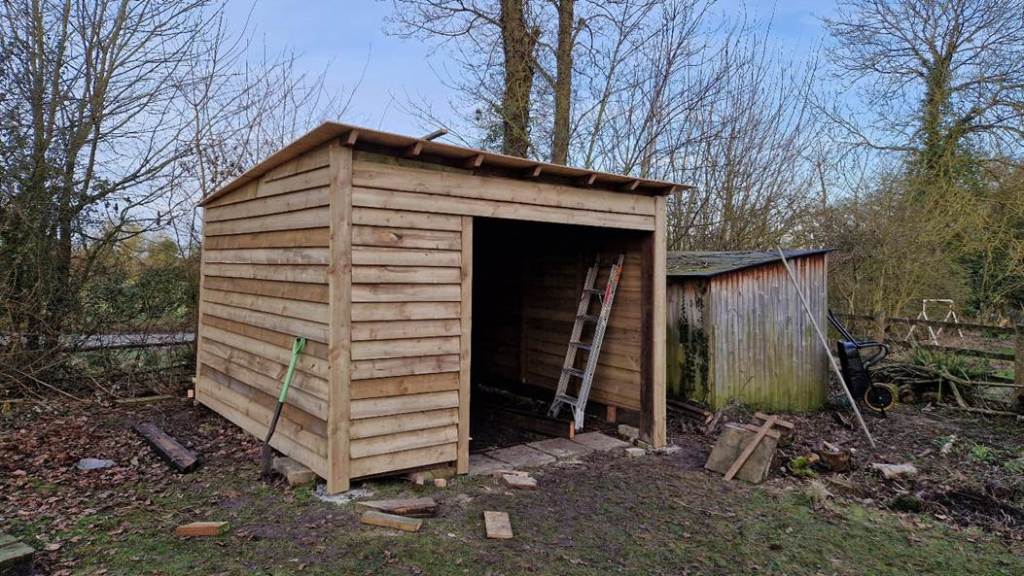
The shed! No windows, no thrills, but very practical.
Costs!
I’m pleased with the results of the project. I made a lot of use of material that was lying around, i.e. paving slabs for the floor and timber of the structure.
Effort and duration. I didn’t work on this every day, total time spent on it was probably 8 days, working 8 hours a day. Total duration was one month, I started the project on the 12-Feb and finished on the 8-March. With the total cost being about £800, at a guess the equivalent, maybe more extravagant, with windows, shed would cost £2-3k. This meant I was pleased with the overall cost.
How does building a shed compare to building software?
If I were to do this again, I would pay more attention to the saying “measure twice, cut once”, so that I didn’t have to figure out how to correct minor, but annoying issues, e.g. front and back for the shed being different widths. I was probably lucky; the cost of correcting issues was not costly. Like the 450-year-old house we live in, the shed was built on compacted earth, so I am optimistic on stability of the walls, but it will be interesting to find out in a year or two if lack of concrete foundations will be the undoing of the project. I’m working on the basis that I have stability because of the concrete blocks supporting the walls, and cement used for the posts on each corner.
Anyway, reflecting on developing software and building a shed:
- Design & Planning. In software engineering, and specifically for start=ups, over thinking the design and spending weeks in detailed planning can be wasteful, but it’s important to keep in mind that architecture errors can be very costly in production. So, getting the right balance between time to market and having just enough design thinking is crucial.
Also, in fast paced, competitive environments, perfection is the enemy of progress. I had a similar dilemma with my shed, I needed to build something relatively quickly and within a budget. I spent just enough time sketching an outline design and did research into how to build sheds using YouTube as well as visiting garden centres.
If I were building a new software system I would do just the same – do enough research to build confidence in what will make a cost-effective solution for the problem. It is only when you start and begin building do you really learn. - Construction. Building the shed was physical and therapeutic. There was a sense of achievement from doing something myself.
I learnt something from building the shed that applies to tech leadership, don’t be a hands-off leader, even when leading a group of over 100 people. Over the past few years I somewhat lost touch with the engineering aspect of software development. I could still design a system, but could I code it. Why is doing the code important? It keeps you in touch with the challenges faced by those you lead. It also gives you a greater sense of achievement. Make time for yourself and not just the teams you lead.
As a software development leader, I achieved outcomes through others by providing guidance and direction through goals and objectives – mentoring and coaching also played an important part of this. Without coaching and mentoring you are not setting others up for success.
When building software systems I applied a lot of “trust and verify” – empower and trust people to do the right thing, but ask challenging questions to verify. This compliments mentoring and coaching.
When I go back to the tech world, I plan to ensure I spend more time doing and not just leading. - Testing. Unlike software, you can’t really test a shed. You either build something that works, or it doesn’t. Errors with software can more easily be changed. That said getting something wrong in software is still expensive, especially when in production and financial loss is involved.
When building the shed, the extent of my testing was pushing on the sides of shed to see if there was any movement, I did this when there was a just a frame, then when there were walls and finally with the roof attached.
However, I did find that you can still make adjustments and tweaks to a shed to improve it, or correct errors. You just have to problem solve. The main similarities between software and construction are that you can apply lessons learnt to the next project. I’ll be far more confident in my next garden/house projects.
Adapting and improving with each iteration of what you do is important. If you don’t commit to doing it, you will never learn!
The next posts
The next few posts will focus upon the house and garden, but I am planning to do some posts on developing software systems – finance, fraud prevention and customer care.
The next few will be:
- Building a paddock gate.
- Restoring the cosmetics of a fireplace (pointing bricks and new tiles)
- Vegetable garden – preparation and seeding

Leave a reply to Ram Cancel reply